One Drive Typing Names to New Folder or File Dont Work and Gets Left Blank to Do It Again
Lesson 4: Saving and Sharing Documents
/en/word2016/creating-and-opening-documents/content/
Introduction
When you create a new document in Give-and-take, you'll need to know how to save it so you tin can access and edit it later. Equally with previous versions of Word, you can relieve files to your computer. If you prefer, you lot tin can as well save files to the cloud using OneDrive. You can even export and share documents directly from Give-and-take.
Scout the video below to larn how to save and share Word documents.
Save and Relieve As
Word offers ii ways to save a file: Save and Save As. These options work in similar ways, with a few of import differences.
- Salvage: When you create or edit a document, yous'll utilise the Relieve command to relieve your changes. You'll utilize this command almost of the fourth dimension. When you save a file, you'll but demand to choose a file name and location the first time. Afterward that, you tin click the Relieve command to save it with the same name and location.
- Save Equally: Yous'll use this control to create a copy of a document while keeping the original. When you use Save As, you'll demand to choose a different name and/or location for the copied version.
About OneDrive
Most features in Microsoft Part, including Word, are geared toward saving and sharing documents online. This is washed with OneDrive, which is an online storage infinite for your documents and files. If you desire to use OneDrive, make sure you're signed in to Word with your Microsoft account. Review our lesson on Understanding OneDrive to acquire more.
To save a document:
It's important to save your certificate whenever you first a new projection or make changes to an existing one. Saving early and often can forestall your piece of work from being lost. You'll also need to pay shut attention to where y'all save the certificate and so it will be easy to find later on.
- Locate and select the Save command on the Quick Admission Toolbar.
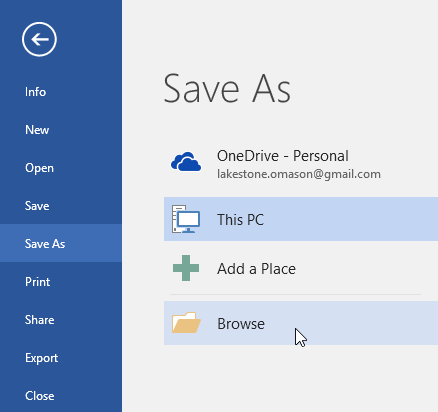
- If you're saving the file for the showtime fourth dimension, the Relieve Every bit pane will appear in Backstage view.
- You'll and so need to choose where to save the file and requite it a file name. Click Browse to select a location on your computer. Alternatively, yous can click OneDrive to save the file to your OneDrive.
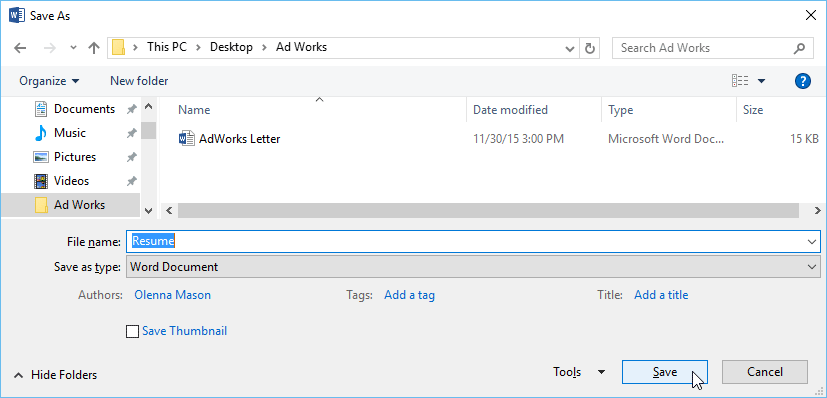
- The Save Equally dialog box will announced. Select the location where you want to save the document.
- Enter a file proper name for the document, then click Save.
- The document volition be saved. You can click the Save command once again to relieve your changes as you change the certificate.
You can also access the Salvage control past pressing Ctrl+S on your keyboard.
Using Relieve Equally to make a re-create
If you desire to save a different version of a document while keeping the original, y'all can create a re-create. For example, if yous have a file named Sales Written report, you could salve it as Sales Written report ii so you'll be able to edit the new file and still refer dorsum to the original version.
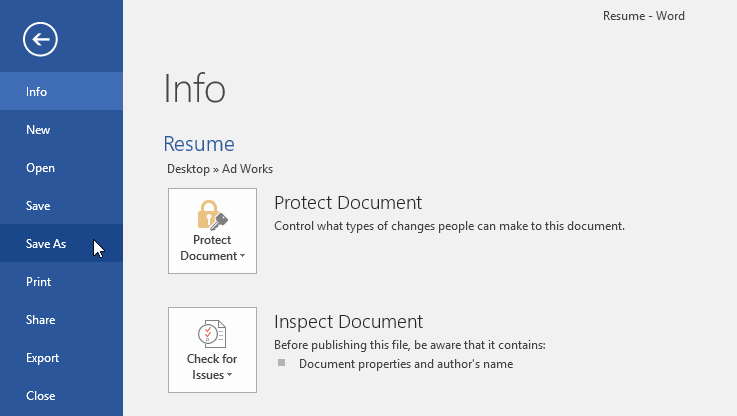
To do this, y'all'll click the Save Equally command in Backstage view. Only like when saving a file for the first fourth dimension, you'll demand to choose where to relieve the file and give it a new file proper noun.
To change the default relieve location:
If you don't desire to use OneDrive, you lot may be frustrated that OneDrive is selected as the default location when saving. If you find this inconvenient, y'all can change the default save location so This PC is selected by default.
- Click the File tab to admission Backstage view.
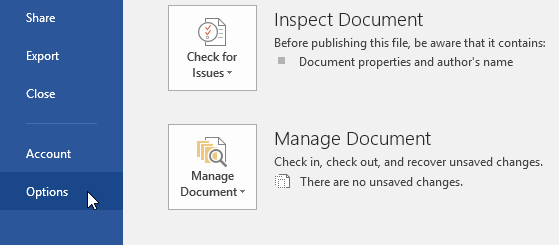
- Click Options.
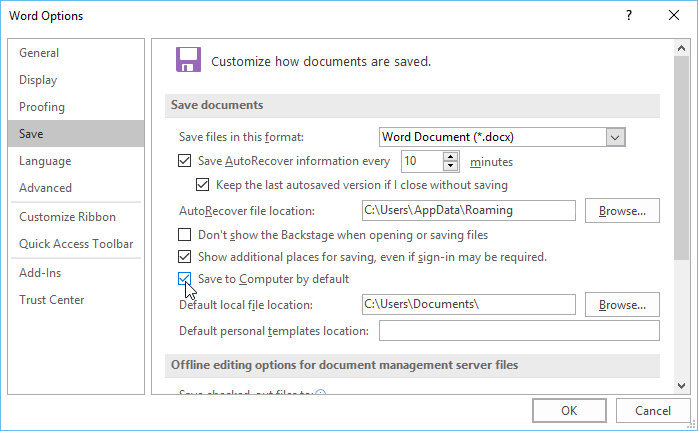
- The Word Options dialog box will announced. Select Save on the left, bank check the box next to Save to Computer by default, and so click OK. The default save location will be changed.
AutoRecover
Word automatically saves your documents to a temporary folder while you are working on them. If you forget to save your changes or if Word crashes, you lot can restore the file using AutoRecover.
To employ AutoRecover:
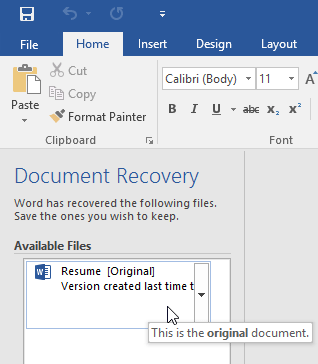
- Open Word. If autosaved versions of a file are institute, the Document Recovery pane will appear on the left.
- Click to open an available file. The document will be recovered.
By default, Word autosaves every 10 minutes. If you are editing a document for less than 10 minutes, Word may non create an autosaved version.
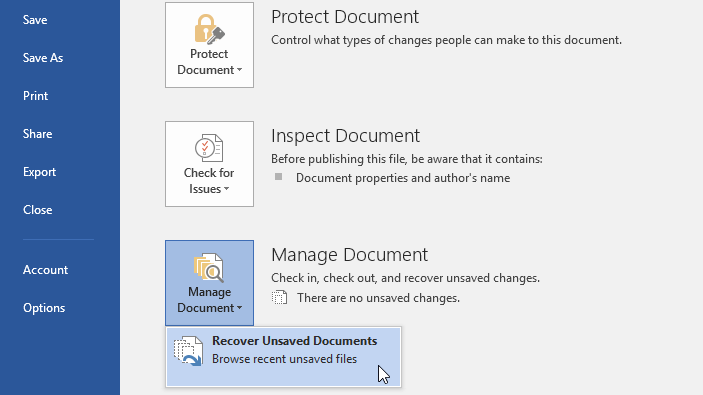
If you don't see the file you need, you lot tin browse all autosaved files from Backstage view. Select the File tab, click Manage Versions, then choose Recover Unsaved Documents.
Exporting documents
By default, Word documents are saved in the .docx file blazon. However, there may be times when yous need to utilise another file type, such as a PDF or Word 97-2003 certificate. It'southward like shooting fish in a barrel to export your certificate from Word to a variety of file types.
To export a certificate equally a PDF file:
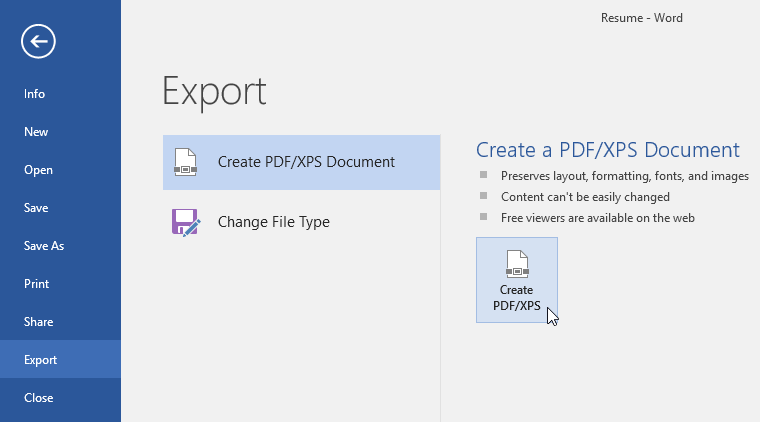
Exporting your document every bit an Adobe Acrobat document, commonly known as a PDF file, can be especially useful if you're sharing a certificate with someone who does not have Give-and-take. A PDF file will make it possible for recipients to view—simply non edit—the content of your certificate.
- Click the File tab to access Backstage view, choose Export, then select Create PDF/XPS.
- The Save As dialog box will announced. Select the location where y'all desire to export the document, enter a file proper name, and so click Publish.

If you lot need to edit a PDF file, Give-and-take allows you to convert a PDF file into an editable document. Read our guide on Editing PDF Files for more information.
To export a document to other file types:
You lot may too find information technology helpful to export your document to other file types, such as a Word 97-2003 Certificate if you need to share with people using an older version of Word or every bit a .txt file if you lot need a plain-text version of your document.
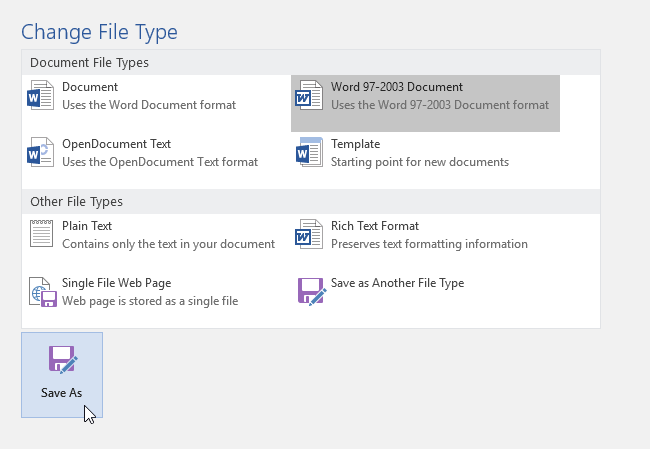
- Click the File tab to access Backstage view, cull Export, and then select Modify File Type.

- Select a file type, and then click Save As.
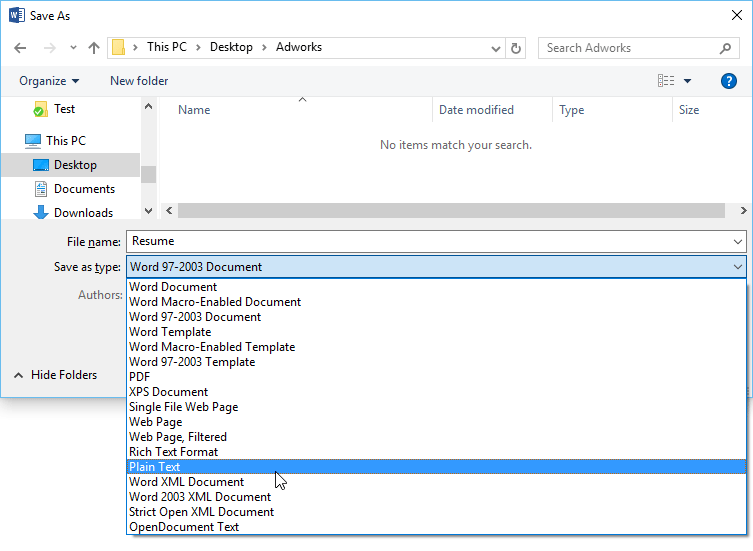
- The Save As dialog box volition announced. Select the location where you want to export the document, enter a file name, so click Salve.
You can also utilise the Salve as type driblet-down menu in the Save As dialog box to save documents to a variety of file types.
Sharing documents
Word makes it like shooting fish in a barrel to share and collaborate on documents using OneDrive. In the past, if you wanted to share a file with someone you could send it as an email attachment. While user-friendly, this organization also creates multiple versions of the same file, which can exist difficult to organize.
When you share a document from Discussion, you're actually giving others access to the verbal same file. This lets you and the people you share with edit the same document without having to keep rails of multiple versions.
In order to share a document, it must first be saved to your OneDrive.
To share a certificate:
- Click the File tab to access Backstage view, and so click Share.
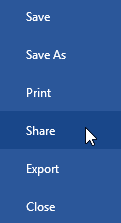
- The Share pane will appear.
Click the buttons in the interactive beneath to learn more about different means to share a document.
Challenge!
- Open our practice document.
- Utilise Salvage As to create a copy of the document. Name the new re-create Saving Challenge Practice. Y'all can relieve information technology to a binder on your figurer or to your OneDrive.
- Export your document as a PDF.
/en/word2016/text-basics/content/
Source: https://edu.gcfglobal.org/en/word2016/saving-and-sharing-documents/1/
0 Response to "One Drive Typing Names to New Folder or File Dont Work and Gets Left Blank to Do It Again"
Post a Comment